How to Build a Field First-Aid Kit: From IFAKs to Mountain and Expedition Sets
A tactical IFAK, an outdoor first-aid pouch, or a full expedition kit—each scenario demands different tools. If you operate where professional help won’t arrive in minutes, you need to be ready to act on your own. This guide shows how to assemble kits for the mountains, for shooters, and for survival scenarios—built to work when every second counts.
🔹 IFAK — Individual First Aid Kit
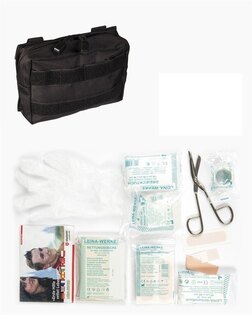
An IFAK (Individual First Aid Kit) has one purpose: preserve life when help is out of reach. Originally issued to soldiers, it’s now standard for shooters, rescuers, and anyone operating in high-risk environments. An IFAK must be ambidextrously accessible and intuitive—usable by a wounded responder or a layperson following instructions.
IFAK design follows the MARCH-E algorithm used in tactical medicine: Massive hemorrhage, Airway, Respiration, Circulation, Head injury/Hypothermia, Evacuation. A properly built IFAK addresses these critical risks.
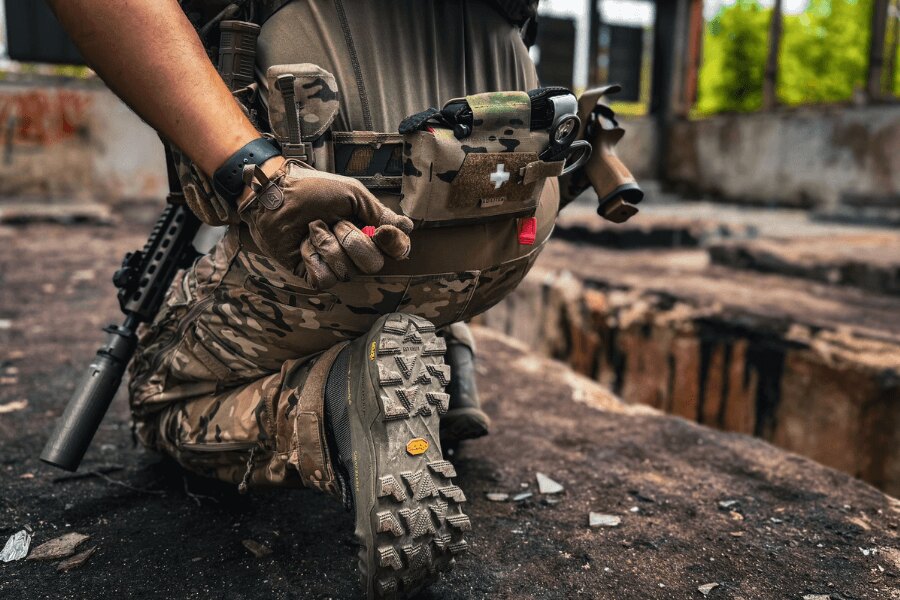
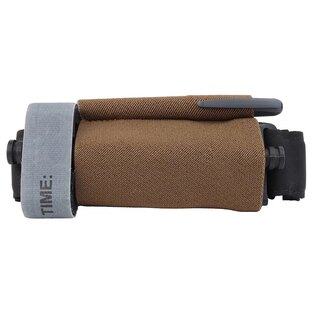
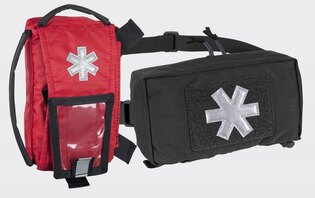
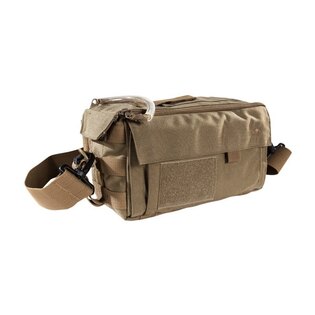
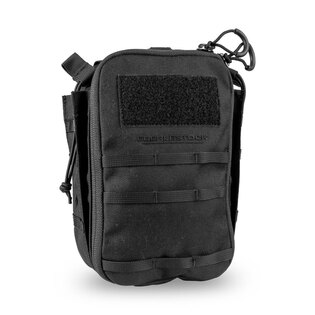
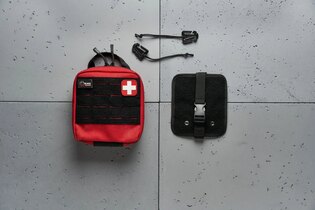
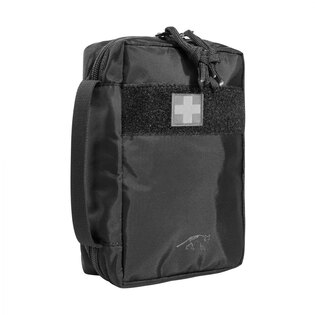
Tactical Agilite IFAK placed on the belt for immediate use. The design allows access with both hands even while moving.
What an IFAK Should Include
Contents vary by environment and mission (combat operations, range days, patrol, training), but core items are consistent:
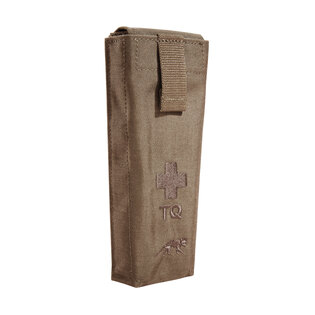
- Tourniquet — for immediate control of life-threatening limb bleeding.
- Pressure dressing — versatile primary dressing, including after tourniquet application.
- Hemostatic gauze — clot-enhancing impregnation for wounds where a tourniquet can’t be used.
- Chest seal (occlusive dressing) — for penetrating chest injuries.
- Decompression needle — to relieve tension pneumothorax (for trained providers only).
- NPA (nasopharyngeal airway) with lubricant — to maintain airway patency.
- Elastic bandage & compressed gauze — for packing and securing dressings.
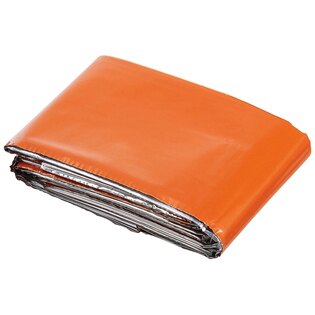
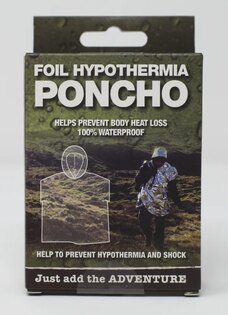
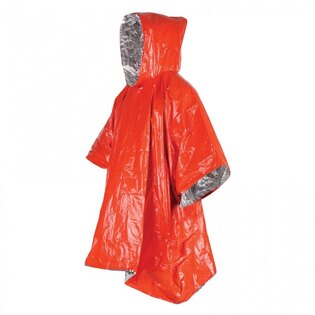
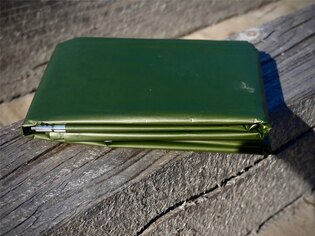
- Thermal blanket (isothermal foil) — hypothermia prevention, a frequent complicating factor.
- Trauma shears — rapid exposure of wounds.
- Medical tape & marker — securing dressings and noting tourniquet time.
- Nitrile gloves — body-substance isolation.
- TCCC casualty card — concise treatment record for handoff to medical personnel.
How to Carry and Use an IFAK
Keep your IFAK in the same position every time—commonly at the rear of a belt or on the side of a plate carrier—and ensure it’s reachable with either hand. Know the contents by heart and train regularly. Unlike a general first-aid kit, an IFAK isn’t a “miscellaneous box”; it’s a focused, life-saving tool for immediate, targeted interventions.
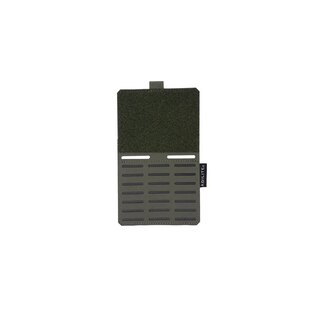
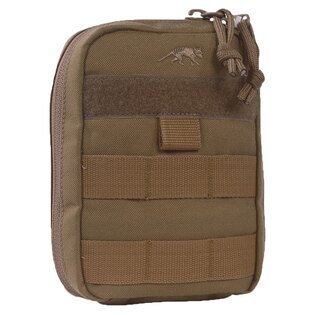
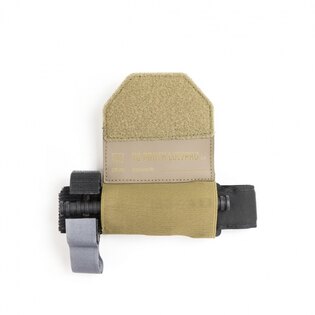
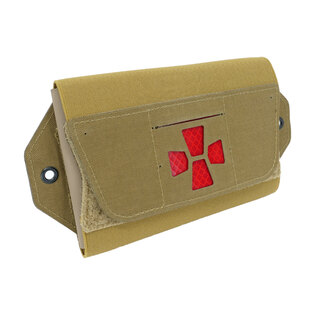
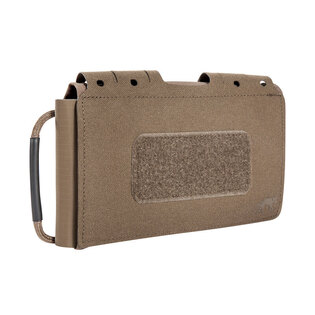
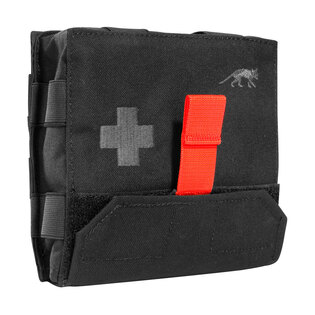
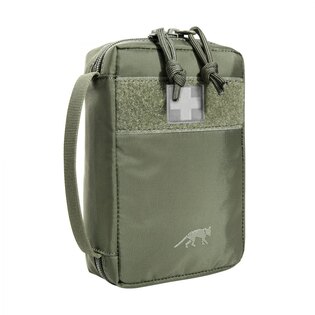
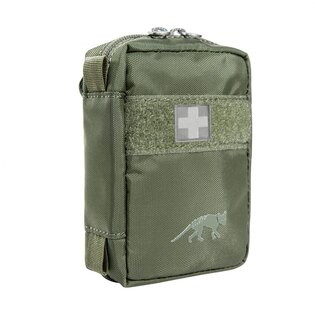
💡 Field-proven pouches: Helikon-Tex Individual Med Kit, Agilite AMAP Medic Insert, Direct Action Med Pouch Horizontal—compact, modular, and designed from real-world experience.
🔹 Outdoor First-Aid Kit — Mountains & Backcountry
Outdoor kits have different priorities than a tactical IFAK. In the backcountry you’re managing function over time—minor injuries or fatigue can escalate fast. Plan with two lenses:
- Severity — what can actually threaten life?
- Probability — what is most likely to happen?
It’s sensible to prep for blisters and heat exhaustion; you don’t need antivenom for a black mamba unless you’re actually herping in sub-Saharan Africa.
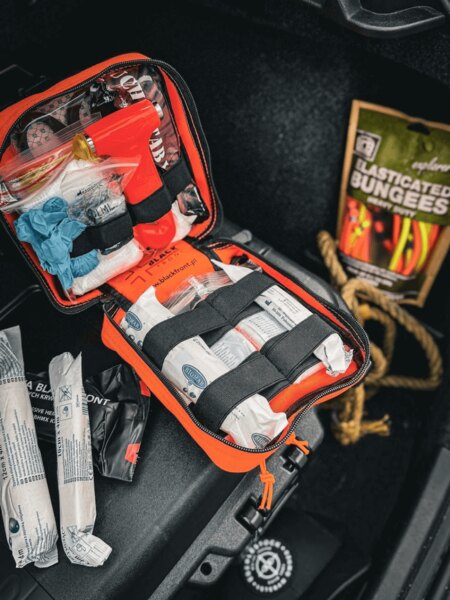
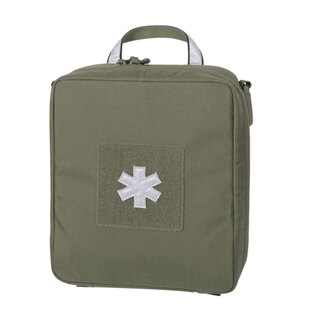
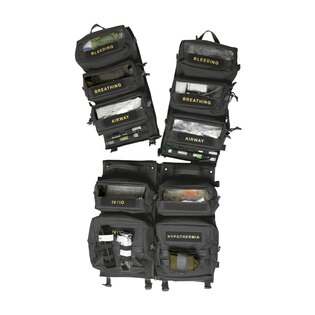
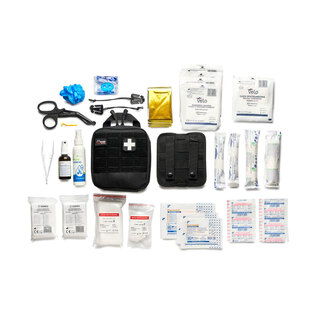
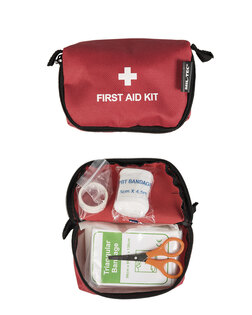
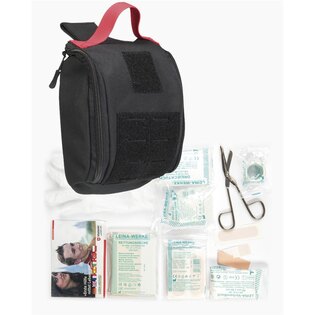
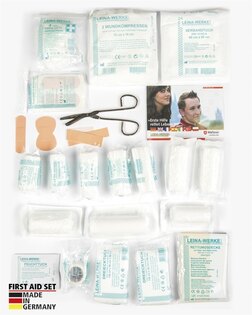
Detail of the open Blackfront first aid kit with neatly organized equipment for first aid in the field.
1) Essentials & Scene Safety
Before treatment, carry tools that protect you and enable a safe intervention:
- Isothermal blankets (min. 2) — use even in warm weather to prevent heat loss.
- Sterile gloves (2 pairs).
- Serrated medical shears.
- Needles, safety pins, adhesive tape.
- CPR face shield.
- Sunscreen, lip balm, insect repellent.
2) Bleeding — the Most Common Issue Outdoors
Hiking reality: cuts, abrasions, blisters.
- Pressure dressing.
- Tourniquet or improvised constricting band (only if trained).
- Sterile gauze and dressings.
- Adhesive plasters and butterfly closures for small cuts & blisters.
➡️ Tip: Learn pressure points—seconds matter with arterial bleeding.
3) Bones & Joints — Support and Relief
Common on multi-day treks:
- Triangular bandage — sling, bandage, or improvised splint.
- Elastic wrap — joint support or sprain management.
- Topical analgesic/anti-inflammatory gel.
4) Wound & Burn Care
- Antiseptic (e.g., povidone-iodine or chlorhexidine).
- Healing ointment (e.g., panthenol).
- Burn gel (e.g., aloe vera).
- Adhesive wound-closure strips (if you know how to use them).
- Antibiotic ointment.
- Antiseptic eye drops.
5) GI & General Ailments
Backcountry isn’t sterile:
- Analgesics/antipyretics (e.g., ibuprofen, paracetamol/acetaminophen).
- Antispasmodics.
- Anti-diarrheals (e.g., loperamide; diosmectite).
- Water-purification tablets (chlorine, silver-based).
- Activated charcoal (food/water-borne issues).
- Thermometer.
6) Individual Needs
Always add personal meds and basics for companions:
- Antihistamines (e.g., cetirizine).
- Calcium-based ointment for skin irritation or mild allergic reactions.
🔹 Winter & Cold-Weather Kits
Start with a water-resistant pouch that opens in gloves and shields contents from moisture. Zips and hook-and-loop can freeze—prefer plastic buckles and an internal organizer for fast access. Mount the kit externally so you can reach it without shedding layers.
Cold-Weather Contents
As with outdoor kits, plus items for heat retention, energy, and comfort:
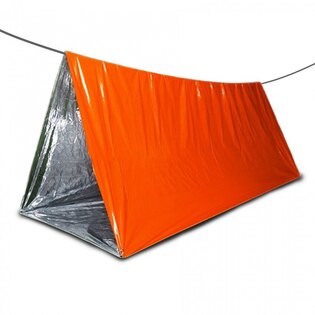
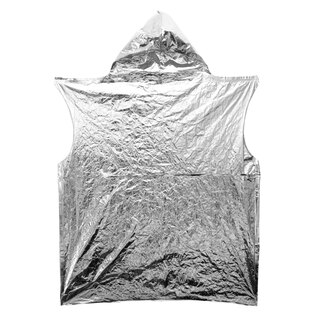
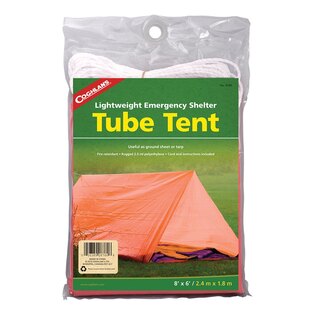
- Two to three isothermal blankets — one is rarely enough; they tear easily and you may need full wrapping. Also useful for improvised litters, shelter, signaling, or ground insulation.
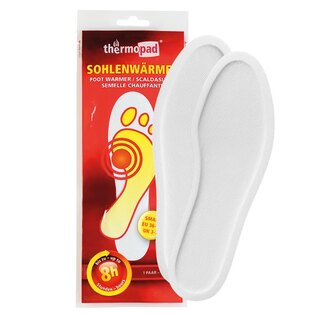
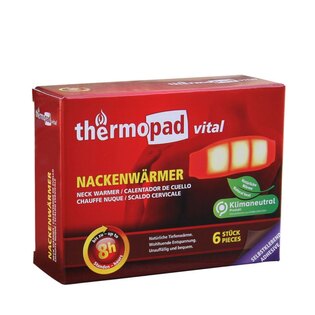
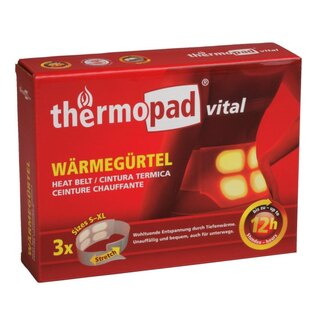
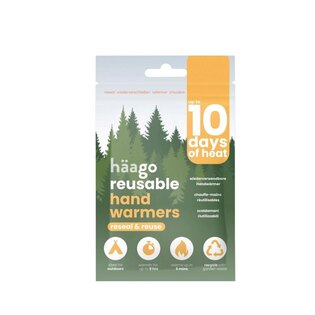
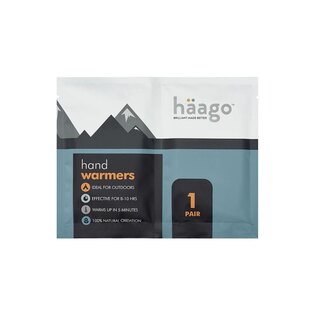
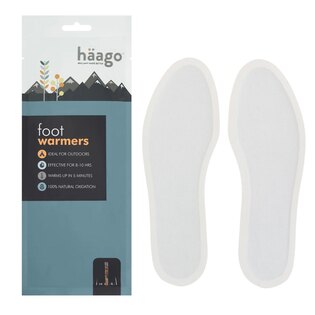
- Chemical hand/body warmers — instant heat for extremities, bags, or gear.
- Frostbite barrier cream & lip balm.
- Spare gloves — thin but warm, in a dry bag.
- Oral rehydration salts.
- Fast sugars (e.g., dextrose tabs, energy gel).
- Mini chem-light or reflective panel for low-visibility signaling.
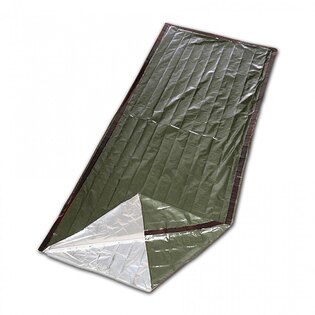
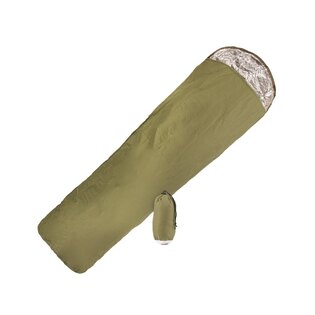
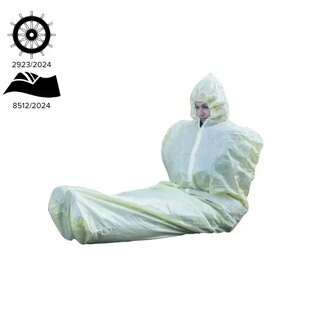
💡 Bonus: If space allows, add a bivy/rescue bag—more durable and wind/water resistant than foil.
Cold-Weather Practices
✅ Keep meds and liquids close to the body so they don’t freeze.
✅ Store warmers away from medications—heat can affect stability.
✅ Place a blanket under the casualty to block ground conduction.
✅ Manage energy intake—cold + exertion spikes demand; a few dextrose tabs can be decisive.
✅ Handle hypothermic patients gently—minimize movement to avoid cold blood returning to the heart too quickly. Stabilize, insulate, and maintain warmth until handover.
💡 Tip: Make the winter module part of a broader emergency kit—add a flashlight, lighter, chem-light, and signaling tools for treatment, warmth, and survival in one.
🔹 Expedition Kit — Tropics & Remote Regions
Beyond Europe and established infrastructure, your kit becomes a self-contained medical base—ready for infections, GI issues, insect exposure, and extreme climates. Expedition kits blend prevention, core pharmacology, and personal protection.
Environmental Risks
- Tropics/jungle — high humidity, insects, infection and skin issues.
- Deserts/arid zones — dehydration, heat illness, sun injury, scarce clean water.
- Rural/low-resource areas — limited healthcare access, unfamiliar pathogens.
Top threats: infections, gastrointestinal illness, insect stings/bites, and overheating. Whether on foot, by motorbike, or on water, your body reacts differently—prevention beats treatment.
Expedition Essentials
Adjust per destination; key elements stay the same:
- High-DEET repellent (and/or treated clothing).
- Antihistamines (e.g., cetirizine, loratadine).
- Water disinfectants (chlorine or silver tablets).
- Oral rehydration salts.
- Anti-diarrheals & probiotics to stabilize gut flora.
- Antibiotic ointment/cream for minor wounds and skin infections.
- High-SPF sunscreen & after-sun care.
- Sterile gauze, plasters, bandages—including for plant/arthropod burns.
- Pocket hand sanitizer (spare).
- Personal medications + copies of prescriptions (for loss or customs).
💡 Tip: For malaria, hepatitis, and other region-specific diseases, arrange vaccinations and prophylaxis well in advance—no kit replaces prevention.
Organization & Protection
Expeditions mean moisture, dust, and heat:
- Inner zip-bags for meds and documents.
- Waterproof outer bag (dry bag) as a second layer.
- Clear section labels (e.g., GI / Wounds / Allergy) for rapid navigation.
Traveling as a team? Split contents into primary (leader’s pack) and backup (companion’s bag). If one is lost, the other remains fully functional.
Field Tips
✅ Shield meds from overheating or soaking.
✅ Use mini packs—save space while covering essentials.
✅ Label meds in English for use in foreign clinics.
✅ Don’t underestimate hydration—keep ORS accessible, not buried.
💡 Tip: Keep the expedition kit as a stand-alone module, protected from humidity and light. On long trips it’s as vital as navigation or water filtration.
🔹 Survival / Bushcraft Kit — Self-Reliance Off-Grid
Far from civilization, your kit is part of your survival system. You must treat injuries, improvise, and function without outside support. A survival kit combines medical supplies with multipurpose items for improvised repairs, emergency heat, and toolmaking.
1) Core Concept: Simplicity & Repeatability
Your bushcraft kit should be compact, modular, and easy to service. Prioritize items with more than one use—every gram must earn its place.
💡 Example: An isothermal blanket can serve as shelter, litter, signal mirror, or water collector.
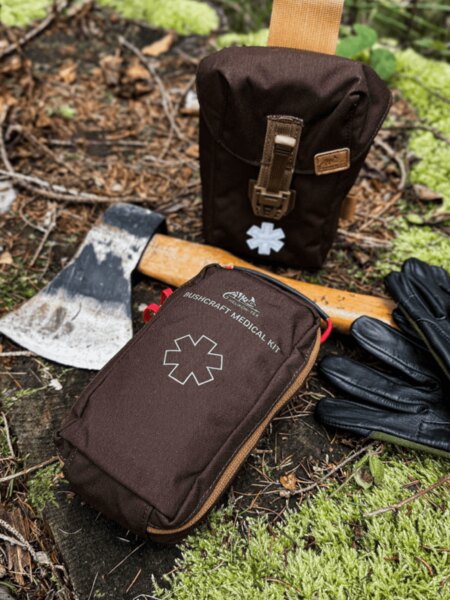
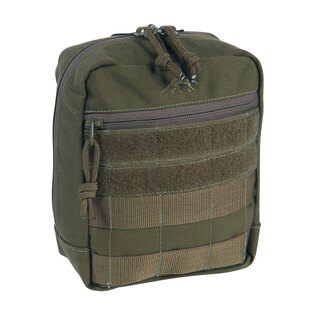
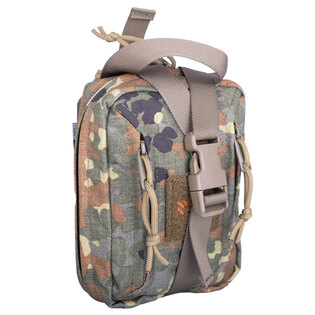
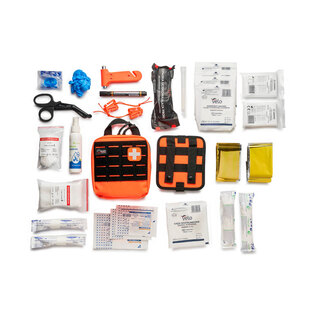
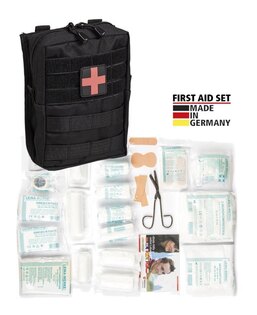
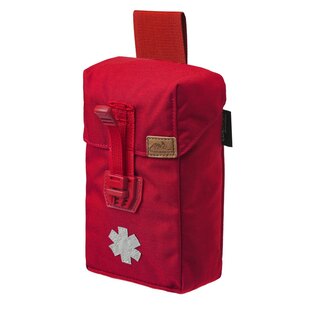
Helikon-Tex Bushcraft Medical Kit – durable medical kit for extended stay in nature, combining medical and survival gear.
2) Survival Kit Contents
Alongside medical basics, include materials for improvisation and repairs:
- Multitool or sturdy knife — for treatment, cutting, and gear fixes.
- Needle & heavy thread — for gear repairs or (if trained) wound closure.
- Duct tape — securing dressings, splints, or reinforcing clothing.
- Paracord — universal lashing and splinting aid.
⚠️ Never use paracord as a tourniquet. It’s too thin/rigid and can cause severe nerve and soft-tissue injury. Despite some “field tips,” it often does more harm than good. - Compact trauma shears.
- Matches, lighter, ferro rod — fire for warmth, sterilization, signaling.
- Two isothermal blankets.
- Pain relief & antihistamines.
- Mini antiseptics (alcohol wipes or drops).
- Nitrile gloves.
💡 Tip: Organize by task: Bleeding / Burns / Repairs / Fire & Warmth. In a crisis you don’t want to rummage.
3) Pouch & Layout
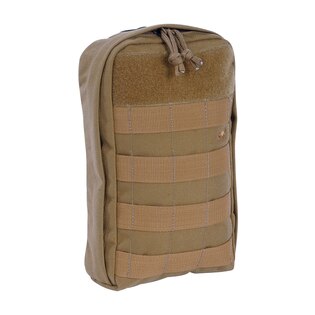
Choose a water-resistant, compact, easily repairable pouch—ideally with MOLLE or lash points for belt/pack carry. Experienced users favor color-coded internal modules (e.g., red—bleeding; blue—burns; black—repairs). Materials like Cordura or heavy nylon handle fire, moisture, and frozen ground.
4) Field Practices
- Train improvisation. In survival, know-how beats inventory.
- Test your kit. Does the foil actually insulate? Does tape stick in freezing rain? Do matches light when soaked?
- Inspect regularly—replenish after each trip; check expirations.
- Add a small mirror—for signaling and checking facial wounds.
- Tell a partner where your kit lives. If you’re the casualty, they must find it fast.
💡 Tip: Fold your bushcraft kit into your EDC. Paired with fire, a water filter, and a knife, you have a compact survival system for days or weeks off-grid.
Conclusion: The First-Aid Kit Is Core Gear
A proper kit isn’t dead weight—it’s as critical as a knife, light, or navigation. Each environment sets different demands: an IFAK buys minutes by stopping the bleed; an outdoor kit keeps you functioning over days; a winter module prevents hypothermia; an expedition kit counters infection; a survival kit bets on self-reliance and improvisation.
Common denominator:
👉 Preparedness, knowledge, and regular maintenance. In the field, it’s not if you’ll use your kit, but when. When that moment arrives, clarity, practice, and smart packing make the difference.
💡 Final tip: Have your kit reviewed by an instructor or medic, or take a hands-on first-aid course—such as the upcoming Elite Center Lhenice trainings at Rigad’s Olomouc store. Skills matter as much as gear.
Readers are further interested
