How to Winterize Your Outdoor Gear: Maintenance and Storage That Last Beyond One Season
With the end of the season comes the time to give your gear a break. Before putting it away for a few months, treat it to a proper service — cleaning, reproofing, and a thorough check. That way, next year it’ll serve you just as reliably as it did this season. Here’s a clear, practical guide on how to winterize your outdoor equipment — from jackets and boots to sleeping bags, backpacks, and tents.
Why Maintenance Matters
Outdoor gear is an investment meant to endure. Without proper care, however, it quickly loses performance and lifespan. Clogged membranes, compacted down, or a musty backpack can ruin your first spring outing. Post-season maintenance is essential — saving you money, frustration, and the hassle of finding replacements.
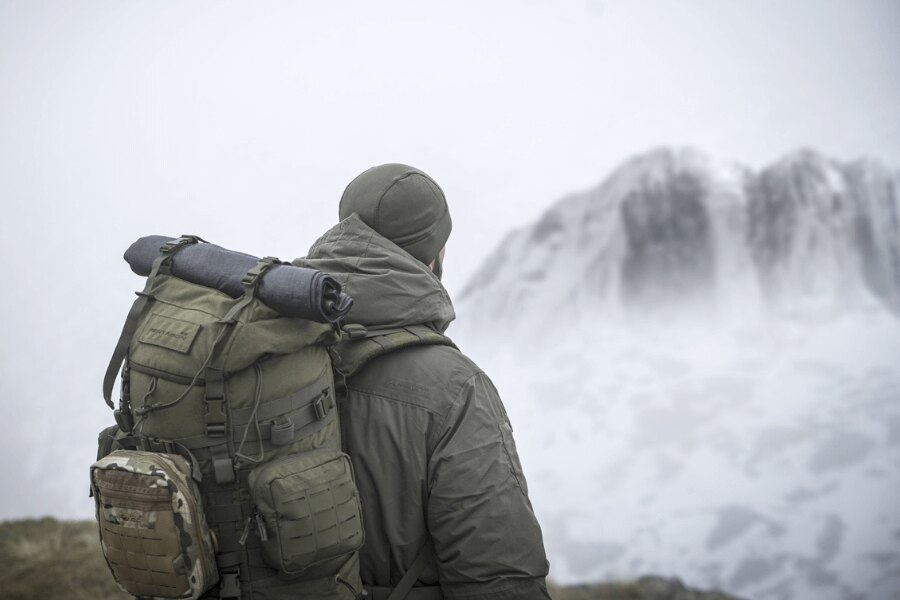
Winterizing your gear begins in the field – a backpack that has been through the entire season deserves cleaning and inspection of all its components.
🟠 Clothing and Footwear
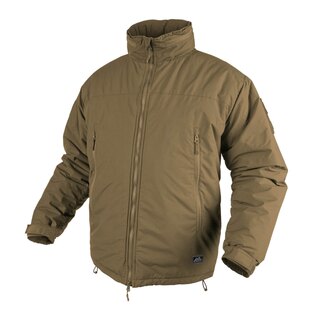
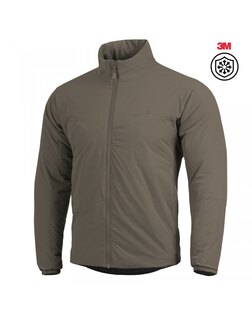
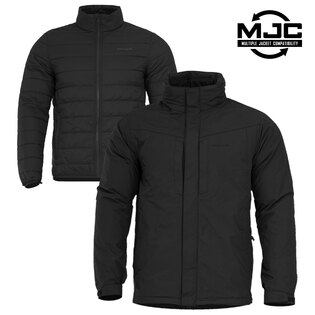
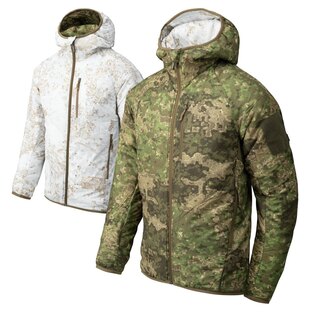
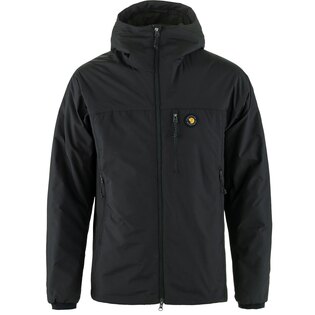
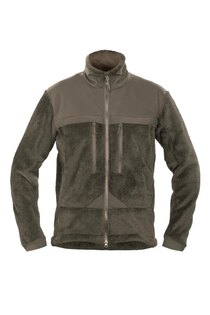
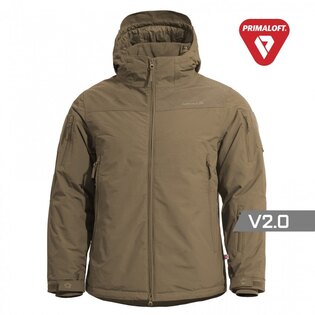
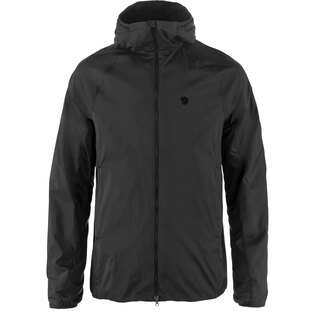
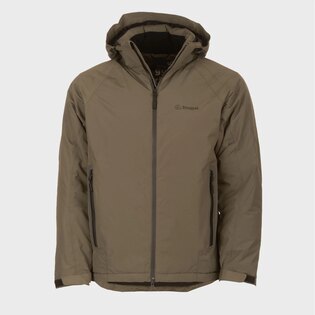
Care for apparel involves three key steps: cleaning, reproofing, and inspection. Each one plays an important role — skip any of them, and you’ll notice it in spring. Dried sweat and dirt degrade fibres and reduce breathability, while neglected DWR coatings let water seep in.
Winterization is the perfect time to give every piece the attention it deserves. Different materials need different care — a softshell, a down jacket, or a membrane shell each behaves differently, just like full-grain leather, nubuck, or fabric boots. Whoever takes the time to do this right will be rewarded in spring with gear that’s ready to perform — not cracked, soggy, or unfit for the trail.
Cleaning and Maintenance of Technical Apparel
Different materials require different approaches. Wash softshell, down, and membrane garments according to their labels — typically at 30–40 °C, without fabric softener or regular detergent, as these clog membrane pores. Close zippers and buckles before washing and brush off mud or dust with a soft cloth.
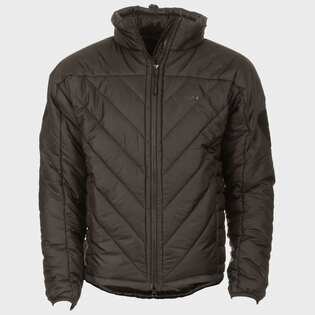
💡 Tip: Wash down jackets and sleeping bags with a down-specific cleaner and a few tennis balls to prevent clumping. If unsure, take them to a specialist cleaner.
✅ Air-dry away from direct heat or sunlight.
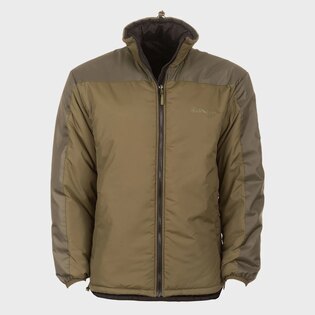
✅ Occasionally shake down items to restore loft — the fluffiness that provides insulation.
✅ Dry shell jackets from both sides for best results.
Reproofing and Material Protection
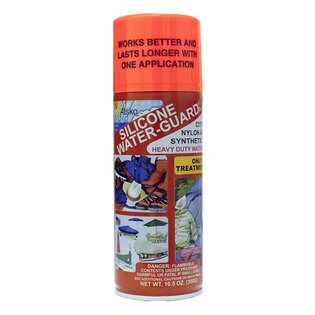
✅ After washing, renew the DWR (Durable Water Repellent) finish.
✅ Use a spray-on or wash-in product suited to the fabric — for example, Nikwax or Granger’s.
✅ A simple test: water drops should bead and roll off instead of soaking in.
⚠️ Always apply reproofing products in a well-ventilated area and allow the material to dry fully.
Inspection and Repairs
✅ Remove coarse dirt with a brush.
✅ Clean insoles and laces separately. Never dry boots near a heat source — leather will crack and adhesives may weaken.
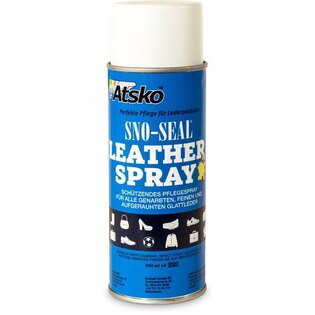
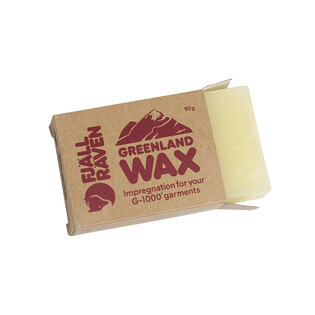
✅ After drying, apply the right waterproofing:
• Wax or cream for smooth leather
• Spray for suede, nubuck, or textiles
✅ Check soles, stitching, and eyelets before storage. Lightly oil metal parts to prevent corrosion.
Storage
✅ Once everything is clean, dry, and treated, move on to storage. Never keep technical clothing in plastic or vacuum bags — it needs to breathe.
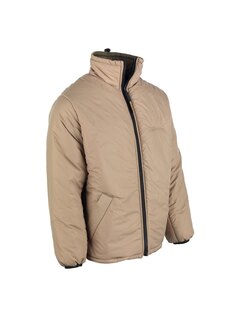
✅ Store in fabric sacks or hang freely.
✅ Keep down jackets and sleeping bags uncompressed — in mesh storage sacks or on hangers.
✅ Add a moisture absorber for long-term storage.
💡 Tip: Do a quick pre-winter gear audit. Repair, donate, or retire what’s worn out — so that next season everything’s ready to go.

Precise inspection of climbing equipment before winter storage is a matter of safety, not just maintenance.
🟠 Backpacks, Sleeping Bags, and Tents
These items see the most use — and abuse — throughout the season. Dust, moisture, UV rays, and miles of wear can take their toll. Without post-season care, you’ll face stiff zippers or mildew smells in spring. Cleaning, drying, and proper storage make all the difference.
Empty your pack, shake out sand and debris, and wipe it down with a damp cloth. For heavier dirt, wash it in lukewarm water with mild soap and let it dry out of direct sunlight. Inspect straps, buckles, and zippers — lubricate stiff ones with silicone spray and repair any loose stitching.
For sleeping bags, follow similar rules. Down models are sensitive to detergents and heat, so use a down-specific cleaner. Synthetic bags are more forgiving but avoid softeners and bleach, which reduce insulation. Dry completely before storage — ideally loose, never compressed. Store in a large or mesh sack, not in the compression bag.
Tents also need attention. Pitch and clean them with lukewarm water and mild soap, let them dry thoroughly, and check the poles, joints, and shock cords. Lubricate metal parts lightly, clean and wax zippers, and reproof the flysheet with a silicone- or PU-based spray.
Store the tent clean, dry, and loosely packed in a breathable bag. Keep poles and stakes separate to prevent fabric damage — a small detail that greatly extends the tent’s life.
Backpacks – Pre-Winter Checklist
✅ Empty all pockets and remove debris.
✅ Brush or wipe the surface clean; if heavily soiled, wash in lukewarm water with mild detergent.
✅ Dry out of direct sunlight or heat.
✅ Inspect straps, buckles, zippers, and stitching.
✅ Treat stiff parts with silicone spray.
✅ Repair small tears before they spread during storage.
Sleeping Bags – Cleaning and Storage
✅ Wash down bags only with down-specific cleaner and a few tennis balls to maintain loft.
✅ For synthetic bags, use gentle cleaners for technical fabrics — no softeners or bleach.
✅ Air-dry thoroughly, ideally laid flat.
✅ Inspect zippers, seams, and cords before storage.
✅ Store uncompressed in a roomy or mesh bag, never in a compression sack.
✅ Add a moisture absorber and avoid damp or cramped spaces.
Tents
✅ After the season, pitch and clean the tent of mud and dust. Use lukewarm water and mild soap, then let it dry completely — away from direct sun.
✅ Check the poles, joints, and cords; lubricate metal parts.
✅ Clean zippers with a soft brush and treat with silicone wax.
✅ Reproof the flysheet with a silicone or PU-based spray to restore water repellency.
✅ Store clean and dry in a breathable bag; keep poles and stakes separate.
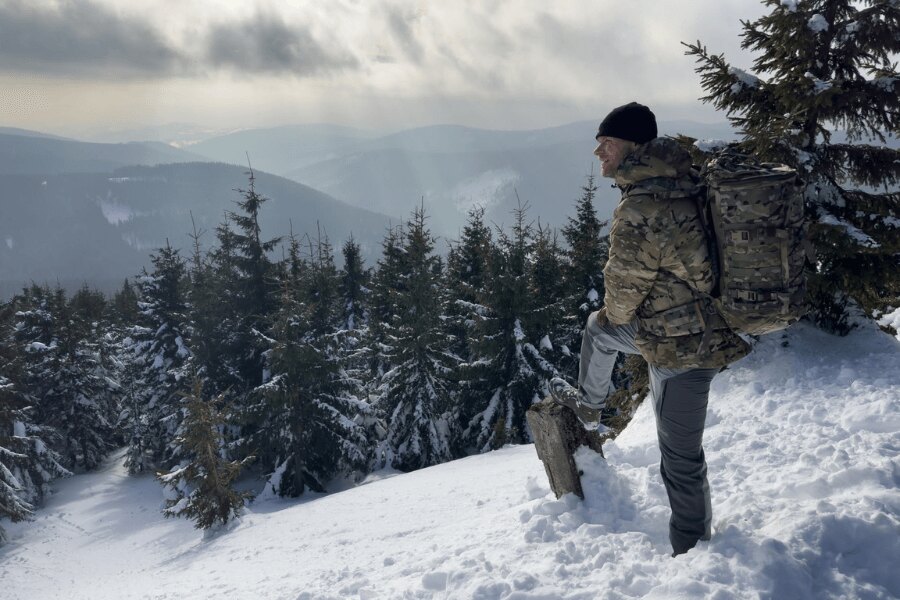
Winter break is the ideal time for equipment maintenance. After the season, just clean everything, check it, and store it in a dry place.
🟠 Climbing and Outdoor Hardware
When it comes to equipment that holds your weight, mistakes aren’t an option. Ropes, carabiners, crampons, and ice axes deserve close inspection — not just for longevity but for safety. Off-season is the perfect time to do this thoroughly.
✅ Run your ropes end-to-end, checking for abrasions, stiff spots, or discolouration. Retire any with sheath damage.
✅ Clean carabiners, belay devices, and ice tools; check gates and moving parts.
✅ Inspect harnesses and slings for frayed stitching or hardened material.
✅ Disassemble trekking poles, clean and dry them, and lightly grease threads and joints.
✅ Lightly oil or silicone-coat metal parts (crampons, buckles, ice axe points) to prevent rust.
✅ Store all gear in a dry place, away from sunlight, chemicals, or extreme temperatures.
✅ When in doubt, have safety equipment inspected by a certified service centre.
💡 Tip: Keep a maintenance log — note when ropes, harnesses, or slings were last replaced. With safety gear, recordkeeping beats guesswork.
🟠 Electronics and Accessories
Modern outdoor kits go beyond tents and boots — headlamps, GPS devices, watches, and power banks come too. Their weakness: moisture and long idle periods. Without proper prep, you’ll find corroded contacts or leaking batteries in spring. Luckily, winterizing electronics takes minutes.
✅ Remove batteries from headlamps, clean contacts, and store them dry.
✅ Charge power banks, GPS units, and watches to around 60–70 % — not full, not empty.
✅ Store electronics in dry, sealed boxes with moisture absorbers.
✅ Clean stoves of fuel residue, check seals, and brush jets gently.
✅ Store gas canisters in a cool, dry, well-ventilated area — never in living spaces or attics.
✅ Ideal temperature: +5 °C to +25 °C, with the valve facing upward.
⚠️ Caution: Never store gas canisters near heat sources, chemicals, or food — even small mistakes can be hazardous.
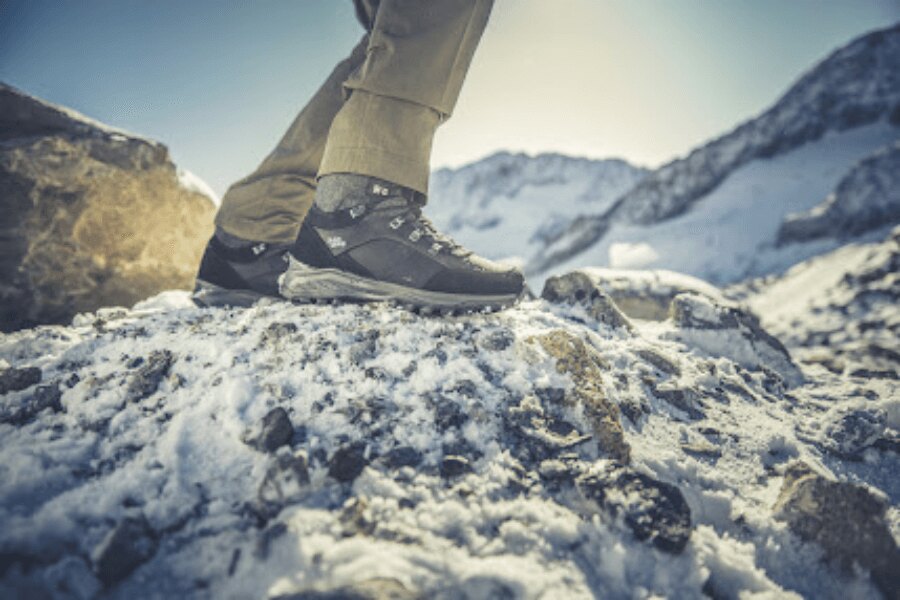
Functional impregnation and proper drying of shoes are key to keeping footwear flexible and ready for the next season.
🟠 Organization and Planning
After everything’s cleaned and stored, take inventory. It’s the best way to know what works, what needs fixing, and what’s ready for retirement.
✅ Sort your gear into categories:
• Clothing and footwear
• Sleeping gear (bags, mats, pillows)
• Camping gear (stoves, cookware, fuel)
• Tools and climbing aids
• Electronics and accessories
• First aid and emergency supplies
✅ Ask three simple questions:
• Does this item still function perfectly?
• Did I use it this year?
• Will I really need it next season?
Sort items into groups — keep, repair, sell, or retire. Then make a list of what to replace or restock. Winter is the best time to catch sales and prepare for next year.
🟠 Conclusion: Winterized and Ready for the Next Season
Winterizing your gear isn’t complicated — it just takes a little discipline and structure. When you clean, reproof, and inspect your gear after the season, it’ll reward you with reliability and longer life. You’ll avoid unnecessary spending and disappointment when it’s time to head outdoors again.
Winter is the perfect time for this kind of service — every piece of gear deserves a rest. When spring comes, all you’ll need to do is unpack, load your backpack, and go.
💡 Tip: During the winter break, review what still performs and what needs replacing. Take advantage of Rigad.com’s winter sales and get gear that won’t let you down next season.
And if you’re already planning cold-weather adventures, don’t miss our next article:
👉 How to Prepare Your Gear for the Winter Season →
Readers are further interested

