Treating Water in the Wilderness Without a Filter: Emergency and Natural Methods
In a crisis situation, you may find yourself without access to a trusted water filter. This article offers a practical overview of improvised water treatment methods, including how they work, their benefits, and their limitations. You’ll learn how to reduce the risk of water contamination in the field, what to include in your emergency kit, and how to properly combine different approaches to minimize health risks.
Best Natural Water Sources for Emergency Filtration
Without a reliable modern filter, there’s no room for error in the wild. What a high-quality filter might still "forgive" could turn into a serious health issue when using improvised methods. While advanced filters can reliably remove bacteria, sediment, and even some chemicals, makeshift solutions are significantly less effective. Contaminants that a hollow-fiber membrane or carbon block would easily stop can end up in your body—often with severe consequences.
That’s why choosing a safe water source is the single most important first step when you're relying on emergency filtration. The less contaminated the water you collect, the more likely it is that a basic filtration method will actually protect you.
👉 TIP: Use all your senses: observe the water’s clarity, notice any unusual smells, and take note of your surroundings and potential contamination risks. And above all, use your judgment. In a crisis situation, your decision about where to source water can have a critical impact on your health and the success of your entire mission.
✅ Green Zone: Ideal Sources
- 🟢 Clear mountain stream
- 🟢 Pure spring
- 🟢 Flowing water far from inhabited areas
- 🟢 Snow or ice (after melting and coarse filtration)
- 🟢 Rainwater collected directly (e.g., into a pot or tarp)
Recommendation: The safest option for improvisation—often only requires boiling or basic filtering.
ℹ️ Yellow Zone: Acceptable Sources
- 🟡 Larger river – if away from civilization and visibly clean
- 🟡 Lake or reservoir with clear, odorless water
- 🟡 Meltwater from snow or meadows (if no livestock nearby)
- 🟡 Rain runoff from vegetation (e.g., leaves, tarp edges)
Recommendation: Requires boiling and some form of improvised filtration. Always assess water visually and by smell.
⚠️ Red Zone: Risky Sources
- 🔴 Stagnant puddles and pools
- 🔴 Swamps, muddy ponds, and animal wallows
- 🔴 Water near pastures, towns, roads, or industrial areas
- 🔴 Water with heavy turbidity or foul odor
- 🔴 Water from rooftops, barrels, or with oily sheen or strange colors
Recommendation: Use only as a last resort. Requires thorough boiling and layered filtration.
“And yes—don’t eat yellow snow.” 😄
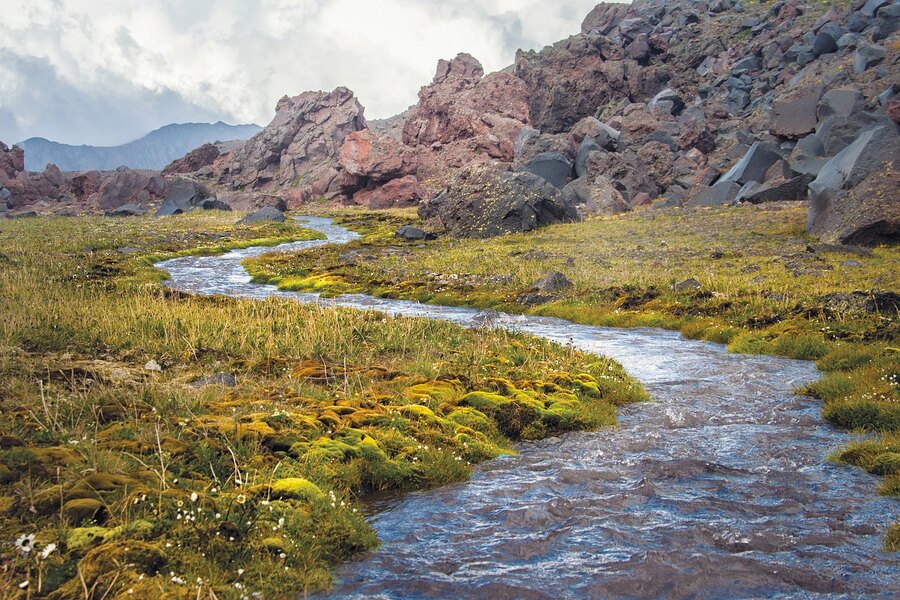
Various sources offer different water quality. If you have the opportunity, choose the water source carefully and also check its surroundings.
Boiling as a Crucial Step in Water Treatment
When using improvised filtration, boiling is an essential safety measure you should never skip. Even if you've filtered water through natural materials or makeshift filters, most pathogens—especially bacteria, protozoa, and other microorganisms—are likely still present. High temperatures are the only reliable way to destroy them.
Even modern filters have their limitations, particularly in tropical regions or when dealing with contamination by viruses, chemicals, or other microscopic pathogens. That's why it’s generally recommended to boil filtered water as a final step—or alternatively treat it using chemical disinfectants (e.g. Micropur tablets) or UV sterilization, if your gear allows. With just a few basic tools, you can significantly increase your chances of making the water safe to drink.
✅ Why You Should Boil After Filtering
Boiling only makes sense after you’ve removed as many physical impurities as possible—such as sand, organic debris, or turbidity—through basic filtration.
🟠 Why:
- Water without visible debris reaches boiling point faster.
- You're not "boiling mud," which can dirty your pot or release unpleasant odors.
- Heating organic material can cause unwanted substances to leach into the water.
🟠 Basic Procedure:
- Perform rough filtration (e.g., through fabric, moss, or a layered natural filter).
- Allow sediment to settle.
- Carefully pour the clearest water into a clean, heat-resistant container.
- Only then proceed to boil the water.
👉 How long should you boil water?
- General recommendation: 5–10 minutes of a rolling boil
- Minimum for most pathogens: 1–3 minutes of boiling
💡 Survival tip:
“Big bubbles – no troubles.”
Rolling boil = safer water
✅ What You Need to Boil Water in the Wild
To safely boil water in the outdoors, you'll need some basic gear:
- A container for heating – ideally a metal mug, pot, or camp kettle. Never place plastic containers over a fire!
- Heat source – a fire, gas stove, alcohol burner, wood stove, or Jetboil-type system.
- Ignition tools – lighter, ferro rod, or waterproof matches. Without a reliable way to start a fire, any survival scenario becomes far more difficult.
(Optional: windscreen, pot stand, or lid to conserve fuel...)
👉 If boiling is not an option, always compensate with chemical disinfection (e.g., tablets, drops like Micropur) or UV sterilization—provided you have the proper equipment.
⚡️ Note:
Boiling does not remove chemicals, heavy metals, or pesticides – these require carbon filtration, or it's best to avoid such sources altogether.
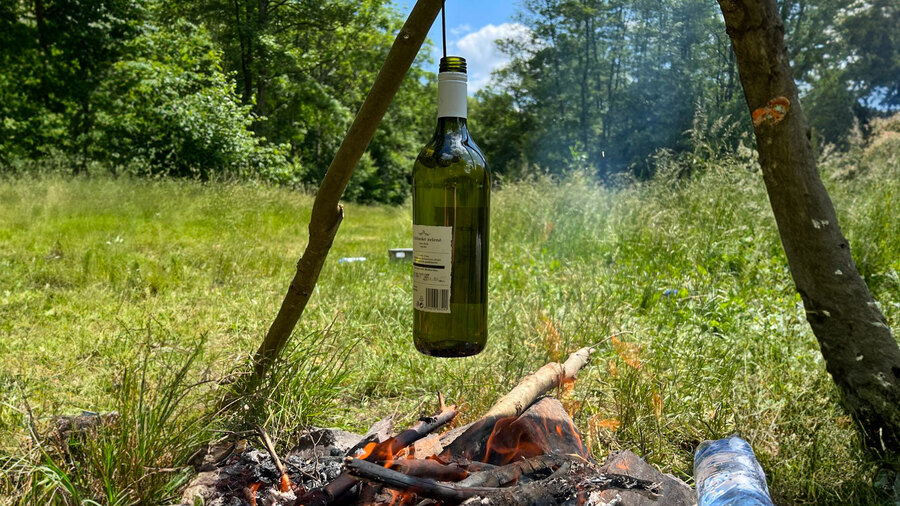
Before you start emergency water filtration in survival conditions, boil the water to be sure.
Improvised Filtration Methods
1. The “Indian Spring” (Soil Seepage Well)
🟠 Principle:
A shallow hole dug near a natural water source (stream, marsh, or soggy meadow). Water slowly seeps in through layers of soil, which provide basic natural filtration.
🟠 How to do it:
- Dig a hole about 50 cm (20 in) deep and 30–50 cm (12–20 in) wide.
- If the soil is saturated, the hole will begin filling within minutes.
- Discard the first batch of water, which will likely be cloudy. Wait for it to refill with clearer water.
🟠 How to improve it:
- Line the bottom with small branches or stones to reduce sediment disturbance.
- Use a sharp stick to poke around the sides of the hole to encourage water flow.
✅ Advantages:
Requires no gear. Soil provides a natural pre-filtration effect.
❌ Disadvantages: Very slow water collection. The water is not fully safe—must be boiled or treated afterward.
👉 TIP: Cover the hole with a tarp or branches to prevent contamination from leaves, debris, or insects.
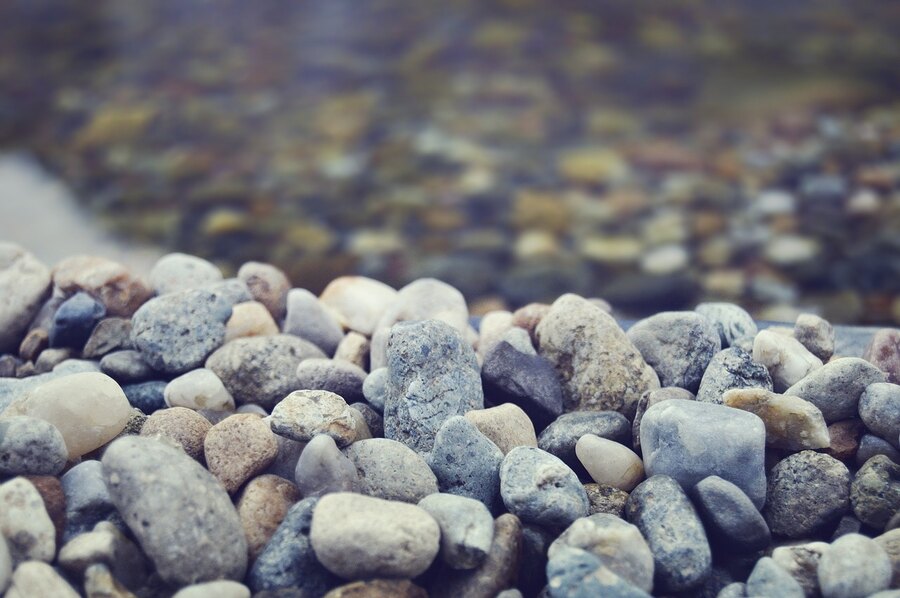
The principle of an Indian well lies in the natural filtration of water through the soil.
2. Capillary Action (Wicking Method)
🟠 Principle:
Two containers (or improvised catchment solutions) are connected with an absorbent material. Water from a contaminated source placed at a higher elevation wicks through the material into a clean container placed lower. Some impurities are trapped within the fibers of the material.
🟠 How to do it:
- Place the container with dirty water higher than the clean, empty container.
- Connect them using a strip of absorbent material – e.g. cotton cloth, pantyhose, paracord, or a rolled-up T-shirt.
- Ensure both ends are submerged in the water – once saturated, the material will start to transfer water via capillary action.
✅ Advantages:
Simple method that doesn't require pouring. It naturally filters out some sediment and particulates.
❌ Disadvantages:
Extremely slow – think droplets per minute, not liters per hour.
Does not remove bacteria or viruses – the water must be boiled or treated afterward.
👉 Tips:
- Use the cleanest, most absorbent material you have.
- Cover both containers to protect against insects and debris.
- Add a small stone to weigh down the wick so it stays submerged.
- Let the system run overnight for best results.
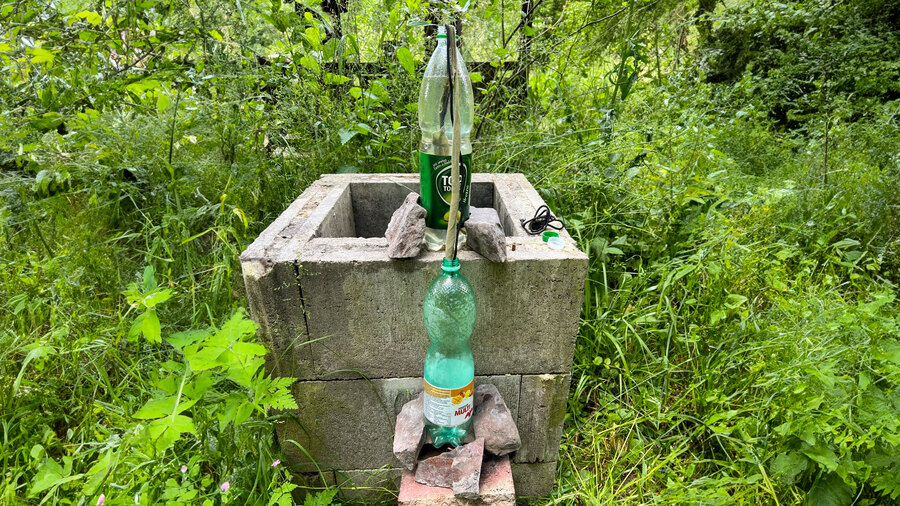
In this method of emergency filtration, clean water wicks into the bottom container using a strip of fabric.
3. Layered Filter (Plastic Bottle Method)
🟠 Principle:
An improvised filter built from commonly available materials. Water flows through a series of layers that gradually trap impurities.
🟠 How to do it:
- Take a plastic bottle (or similar container) and cut off the bottom.
- Line the neck with several layers of cloth – this acts as both a fine filter and a plug.
- Layer the materials from bottom to top as follows: cotton or fabric → fine sand → crushed charcoal → coarse gravel or small stones.
- The top opening is the input. Water exits through the cap (with a small hole) or through the fabric at the neck.
✅ Advantages:
- Well-known and widely tested method.
- Materials are easy to find in nature or around camp.
- Removes visible debris, some bacteria, odor, and discoloration – mainly thanks to the charcoal.
❌ Disadvantages:
- Does not reliably remove microorganisms – boiling or chemical treatment is still required.
- If poorly constructed, water may flow too quickly, reducing effectiveness.
- Only use pure wood charcoal – never briquettes with chemical binders.
👉Tips:
- Crush charcoal into fine powder – the finer it is, the greater the surface area for adsorption.
- Discard the first 1–2 liters of filtered water – this helps settle the layers and flushes out loose particles.
- No bottle? Use large leaves, hollow wood, cloth bags, or build multi-stage layers in alternative containers.
4. Cloth Filtration
🟠 Principle:
Pouring water through multiple layers of fabric—such as a T-shirt, scarf, or bandana. The fabric layers trap coarse debris like insects, leaves, or mud.
✅ Advantages:
Extremely simple and fast method. Anyone can use it, even without gear.
❌ Disadvantages:
Only removes visible particles. Does not eliminate bacteria, viruses, or microorganisms. The water is not safe to drink without further treatment.
👉 Tips:
- The more layers you use, the more effective the filtration.
- Densely woven natural fabrics (e.g. cotton, linen) work best.
- Wash or boil the cloth before use if it’s dirty.
5. Water Settling (Sedimentation)
🟠 Principle:
Let contaminated water sit still for at least 12 hours, allowing sediment to settle at the bottom naturally.
✅ Advantages:
Requires no equipment or materials—just time.
❌ Disadvantages:
Does not remove bacteria, viruses, or chemicals. Very time-consuming.
👉 Tips:
- Use a clear container and store the water away from direct sunlight.
- Once sediment has settled, carefully pour off the top layer into a clean container, avoiding disturbance of the settled sludge.
6. Filtration Using a Twig (Xylem Filtration)
🟠 Principle:
A fresh twig from a living tree—ideally pine or birch—contains a porous structure that allows water to seep through slowly. This natural filter can trap microorganisms.
🟠 How to do it:
- Cut the freshest possible twig (about 5–10 cm long), avoiding any damage.
- Strip off the bark and insert the twig tightly into a plastic tube or funnel.
- Pour water slowly—this filtration method is extremely slow.
✅ Advantages:
Natural microbial filtration using plant xylem.
❌ Disadvantages:
Very slow (roughly 1 drop per minute), low capacity, and requires a tight seal to prevent leakage.
👉 Tips:
- Only use fresh, living wood—dry twigs will not work.
- Make sure the water passes through the wood and not around it.
7. Solar Distillation
🟠 Principle:
Using solar heat to evaporate water. Moisture condenses on a sheet of plastic and drips into a collection container—the resulting condensate is much cleaner than the original source.
✅ Advantages:
Works with salty or very polluted water, removes most microorganisms and some chemicals.
❌ Disadvantages:
Very low yield, time-consuming, and requires a plastic sheet and two containers.
🟠 How to do it:
- Dig a shallow pit and place a clean collection container in the center.
- Surround it with moist grass, leaves, or wet stones to boost humidity.
- Cover the pit with a clear plastic sheet, weighed down with a stone in the center to form a drip point toward the container.
- Build the setup in the morning and orient it toward the south for maximum sunlight exposure.
All of these methods serve only as pre-filtration. To make water truly safe for consumption, you must always:
- 👉 boil the water
- 👉 treat it chemically (e.g. with Micropur, chlorine)
- 👉 use UV sterilization
What to Include in Your Survival Kit (EDC/BOB/First-Aid Kit)
In extreme situations, even basic gear can significantly improve your chances of safely treating water. Often, it’s simple, everyday items that enhance improvised filtration, simplify boiling, or enable an additional step like chemical disinfection. The key is knowing how to use them effectively.
As a precaution, it’s wise to include some of these in your emergency kit or multi-day outdoor setup:
Not mandatory equipment, but small items that can greatly simplify improvisation and improve water safety:
- 🟠 resealable bags, PET bottles, cloth pouches
- 🟠 a piece of cotton fabric or gauze
- 🟠 small stove / fire tablets / lighter
- 🟠 aluminum foil or plastic sheet (for distillation)
- 🟠 tubing (for branch filtration)
- 🟠 water purification tablets (Micropur)
- 🟠 durable charcoal or a carbon stick
- 🟠 condom (for emergency water collection)
Summary: Improvisation Helps—But Don’t Rely on It Alone
Improvised water filtration is a valuable survival skill. It can reduce visible contaminants and contribute to safer water consumption in the wild. But even the best technique has its limits. Without proper disinfection—typically by boiling—the water remains risky.
A quality filter simplifies the process and greatly reduces health risks. Still, when one isn’t available, knowing basic improvised methods can make the difference between a safe return and serious illness.
Choose the cleanest possible source, filter through every available means, boil the water—and when possible, carry chemical disinfectants. Even a small piece of gear can significantly improve your chances of staying safe out there.
Readers are further interested

