How to Clean Your Hydration Bladder (Without Losing Your Mind)
Moisture, leftover water, and poor drying make hydration bladders a perfect breeding ground for bacteria, mold, and nasty smells—even if you only use clean water. Next thing you know, your water tastes like the bottom of a camp pot after three days in the sun. But here’s the good news: cleaning it doesn’t have to be complicated. All you need is the right approach, some simple tools, and a little time. Let’s break it down—step-by-step, no weird chemicals, no stress.
💧 Why It's Important to Clean a Hydration Bladder
- Bacteria and mold grow even where there is “just water.”
- The bladder is warm, moist, and dries poorly – an ideal microclimate for mess.
- Regular maintenance = better taste, lower risk, longer equipment lifespan.
Cleanliness is important in every season, even in winter – at lower temperatures, bags dry more slowly and mold more easily.
What You'll Need
You don’t need a lab to clean a hydration bladder. Most tools are either in your kitchen or can be easily picked up online or from your local gear shop. Here’s what to focus on:
Cleaners
These are straightforward, widely available, and you probably already have at least one at home.
- Cleaning tablets – Designed specifically for bladders (e.g., Platypus, CamelBak). They dissolve biofilm and don’t leave a taste.
- Baking soda – A versatile, natural cleaner. Helps with odor and residue. Use about ¼ cup per liter of water. (Recommended by REI and MSR.)
- Unscented bleach – 2–5 drops per liter of water kills bacteria and viruses. Used by CDC and MSR for emergency disinfection. Rinse thoroughly after.
- Lemon juice – Neutralizes tough smells. Can be mixed with baking soda (watch out for fizz). A natural freshener.
- Denture cleaning tablets – A popular DIY hack (see Reddit, SectionHiker). Not made for gear, but works in a pinch. Use occasionally and rinse well.
Tools
Manufacturer kits are great—but if you don’t have one, there are easy workarounds.
- Cleaning brushes – Long-handled or hose-specific brushes are ideal.
- Knotted cord – A great DIY hose cleaner. Wet it and pull it through the tube.
- Kitchen sponge or brush – Works in a pinch for the reservoir itself.
- Tweezers or skewers – Handy for disassembling and scrubbing the bite valve.
Drying Tools
This is the most overlooked step. If you don’t dry your bladder properly, all your cleaning efforts can go to waste.
- Drying hanger or rack – Keeps the bladder open and lets air flow.
- Plastic bottle or rolling pin – Insert to hold the reservoir open while drying.
- Hanger + clothespins – An easy way to hang bladder and tube upside down.
- Paper towels or dishcloth – Stuff inside to hold shape and absorb moisture.
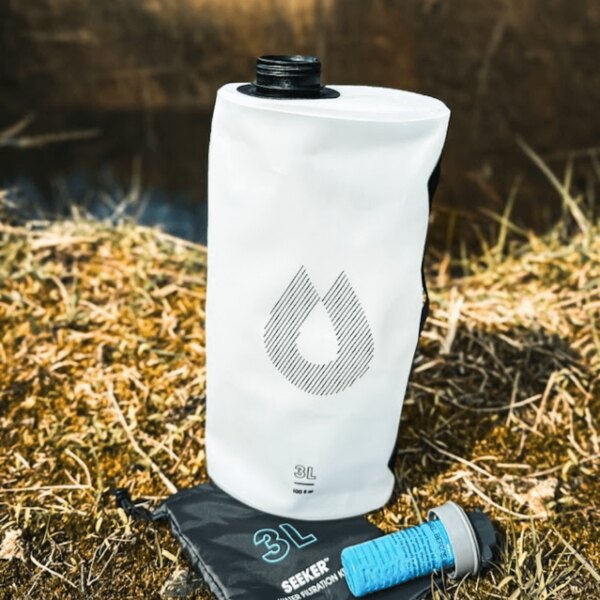
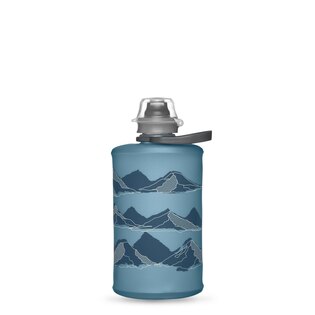
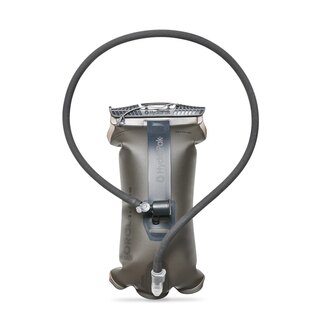
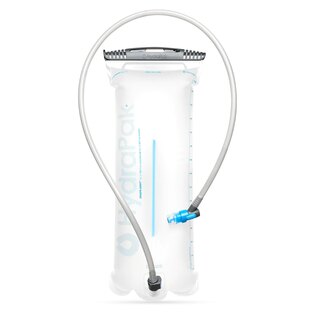
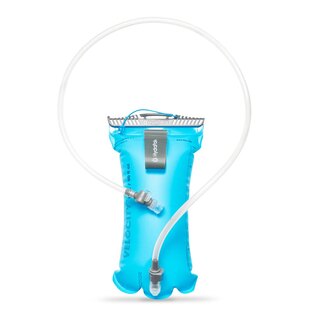
Hydrapak Seeker – lightweight, compact water reservoir. However, it also needs to be thoroughly cleaned from time to time.
How to Clean Your Hydration Bladder in 3 Easy Steps
1. Disinfect and Pre-Soak
Kill bacteria, mold, and odors before you start scrubbing.
- Fill the bladder with warm (not boiling) water.
- Add your chosen cleaner—tablet, baking soda, bleach drops, etc.
- Close the reservoir, shake it, and let some water flow through the hose and bite valve.
- Let it sit: Tablets: follow instructions (usually 5–10 minutes) DIY mixes: let sit for at least 20 minutes
- Drain and rinse everything well.
2. Scrub and Soap
Now for the hands-on part—especially important for the hose.
- Mix warm water with a bit of mild dish soap in the reservoir.
- Scrub the inside using a brush or sponge.
- Clean the hose using a long brush or knotted cord pulled through several times.
- Remove the bite valve and scrub it separately—use a skewer or small brush if needed.
- Rinse everything thoroughly so no soap residue remains.
3. Air-Dry Completely
This step determines whether you’ll be doing it all over again in a few days.
- Disassemble everything: bladder, tube, valve.
- Insert a plastic bottle, towel, or any object that keeps the reservoir open.
- Hang it upside down or use a drying rack.
- If nothing else, improvise—use a hanger, clips, or even a stick.
- Dry in a well-ventilated space. Avoid the bathroom—it’s usually too humid.
Quick Checklist
Need a fast reference? Here's your step-by-step summary:
✅ Quick Checklist
- Fill the bag with warm water and add a cleaner (tablet / soda / bleach).
- Shake, let the solution pass through the tube and let it sit.
- Pour out and rinse the bag and the tube.
- Refill with water and a bit of soap, scrub the entire bag and components.
- Rinse with clean water.
- Dry the disassembled bag open, upside down, in a dry environment.
Trail-Tested Tips That Actually Work
These aren't always manufacturer-approved, but they’re trusted by hikers everywhere:
- Knotted cord = brilliant hose cleaner – Cheap and effective.
- Lemon + baking soda = odor killer – Just mix away from your gear and clothes.
- Always take apart the bite valve – That’s where most gunk hides.
- Plastic bottle inside for drying – Instant airflow with no extra gear.
- Avoid drying in bathrooms – Humid air slows drying and invites mold.
- Leave it open all day – Seams and corners take longer to dry than you think.
And don’t worry—we’ve all made mistakes. If any of these sound familiar, you’re not alone.
⚠️ The Most Common Mistakes in Cleaning the Bag
- "There's only water, so I don't need to clean it." – Moisture and warmth create an ideal environment for bacteria even without dirt.
- Forgotten mouthpiece. – Often the most contaminated spot. Yet easily overlooked.
- Insufficient rinsing of soap. – Leaves a bad taste, or may cause stomach irritation.
- Drying in the bathroom. – A humid environment slows down drying and increases the risk of mold.
- Drying with a closed bag. – Without air circulation, cleaning is ineffective. The bag must be open.
- Hot water from a kettle. – May damage the inner material or seams.
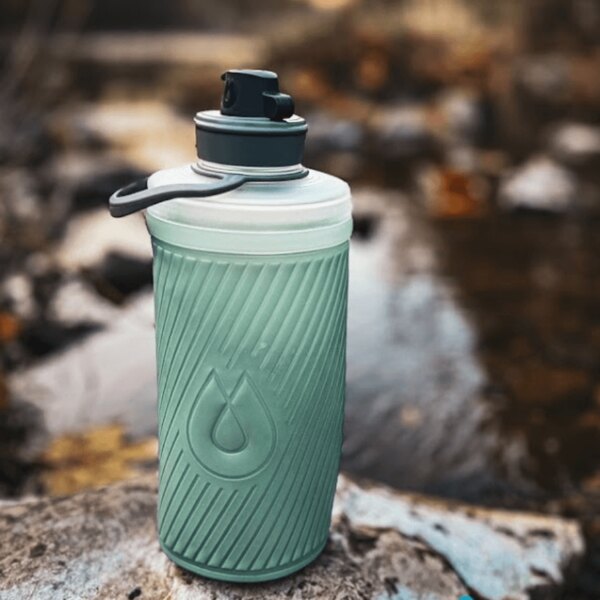
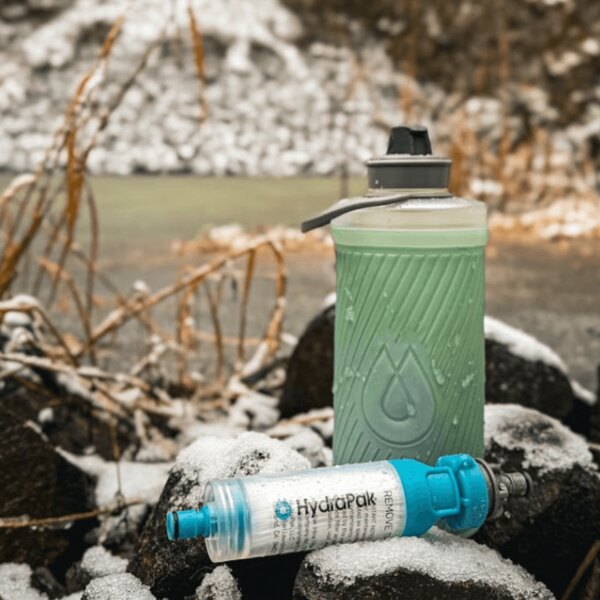
Hydrapak bottle and filter in the field – equipment that deserves regular cleaning, especially after filling from natural sources.
How Often Should You Clean It?
- After every multi-day trip – Even if you only filled it with water.
- Before and after long-term storage – That "surprise funk" after six months in your pack? Avoid it.
- If water tastes or smells off – That’s a red flag. Don’t ignore it.
- After exposure to extreme heat or cold – It can damage the material and hold moisture.
You don’t need to clean your bladder after every short outing. But after long use, in warm weather, or before it sits in storage—take 15 minutes to clean it. You’ll thank yourself on the next sip.
Final Word: It’s Not Glamorous, but It Works
Cleaning your hydration bladder isn’t the most exciting part of outdoor life. But if you skip it, you’ll notice—by smell, taste, or what’s floating in your water.
The good news? It’s easy. All you need is some warm water, a bit of know-how, and a few everyday tools. You don’t need to do it perfectly—just often enough that your water stays clean, fresh, and safe.
📘 Read more: Water management on a trek
Learn how to plan water consumption on hikes, where to refill, what to filter, and how to manage in the wilderness without civilization. Continue to the article How to manage water on a trek.
Readers are further interested
